There are two types of replication available in PostgreSQL at the moment: Streaming replication & Logical replication. If you are looking to set up streaming replication for PostgreSQL 13, this is the page you have been looking for. This tutorial will show you how to configure PostgreSQL replication and how to set up your database servers quickly.
Table of Contents
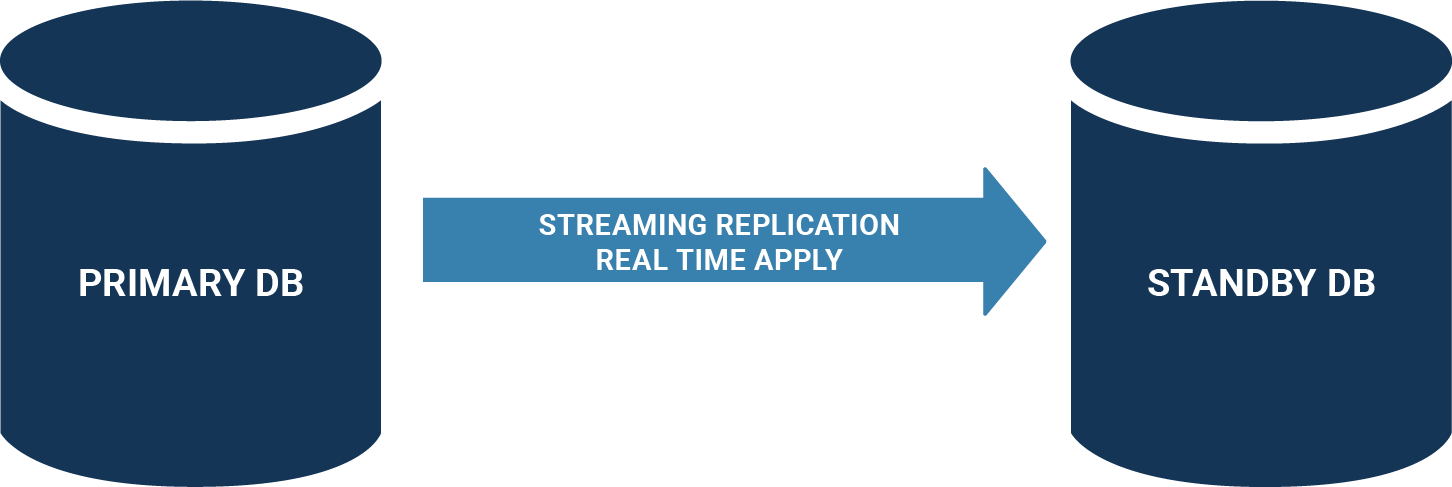
Before we get started with configuring PostgreSQL, it makes sense to take a look at what we want to achieve. The goal of this tutorial is to create a primary server replicating data to a secondary one, using asynchronous replication.
The entire setup will be done using CentOS 8.3. The process on RHEL (Redhat Enterprise Linux) is expected to be the same. Simply follow the same procedures.
Let’s prepare these systems step-by-step.
Once you have installed CentOS / RHEL you can already prepare the installation of PostgreSQL itself. The way to do that is to go to the PostgreSQL website and follow the instructions.
The following script shows how things work. You can simply copy / paste the script:
|
1 2 3 4 5 6 7 8 9 10 11 |
sudo dnf install -y https://download.postgresql.org/pub/repos/yum/reporpms/EL-8-x86_64/pgdg- redhat-repo-latest.noarch.rpm sudo dnf -qy module disable postgresql sudo dnf install -y postgresql13-server # can be skipped on the 2nd node sudo /usr/pgsql-13/bin/postgresql-13-setup initdb sudo systemctl enable postgresql-13 # can be skipped on the 2nd node sudo systemctl start postgresql-13 |
|
1 2 3 4 5 6 7 8 9 10 |
[root@node1 ~]# ps axf | grep post 5542 pts/1 S+ 0:00 _ grep --color=auto post 5215 ? Ss 0:00 /usr/pgsql-13/bin/postmaster -D /var/lib/pgsql/13/data/ 5217 ? Ss 0:00 _ postgres: logger 5219 ? Ss 0:00 _ postgres: checkpointer 5220 ? Ss 0:00 _ postgres: background writer 5221 ? Ss 0:00 _ postgres: walwriter 5222 ? Ss 0:00 _ postgres: autovacuum launcher 5223 ? Ss 0:00 _ postgres: stats collector 5224 ? Ss 0:00 _ postgres: logical replication launcher |
Now let’s move on to the next step: disabling the firewall on the primary.
|
1 2 3 4 |
[root@node1 ~]# systemctl disable firewalld Removed /etc/systemd/system/multi-user.target.wants/firewalld.service. Removed /etc/systemd/system/dbus-org.fedoraproject.FirewallD1.service. [root@node1 ~]# systemctl stop firewalld |
Why is that necessary? The replica will connect to the master on port 5432. If the firewall is still active, the replica will not be able to access port 5432. In our example, the firewall will be disabled completely to make it easier for the reader. In a more secure setup, you might want to do this in a more precise manner.
There are four things we have to do on the primary server:
postgresql.confpg_hba.confWe can perform these things step-by-step.
postgresql.conf.The file can be found in /var/lib/pgsql/13/data/postgresql.conf. However, if you have no clue where to find postgresql.conf you can ask PostgreSQL itself to point you to the configuration file. Here is how it works:
|
1 2 3 4 5 6 7 8 9 10 |
[root@node1 ~]# su - postgres [postgres@node1 ~]$ psql postgres psql (13.2) Type 'help' for help. postgres=# SHOW config_file; config_file ---------------------------------------- /var/lib/pgsql/13/data/postgresql.conf (1 row) |
postgresql.conf:listen_addresses = '*'
What does listen_addresses mean? By default, PostgreSQL only listens on localhost. Remote access is not allowed by default for security reasons. Therefore, we have to teach PostgreSQL to listen on remote requests as well. In other words: listen_addresses defines the bind addresses of our database service. Without it, remote access is not possible (even if you change pg_hba.conf later on).
Then we can create the user in the database:
|
1 2 |
postgres=# CREATE USER repuser REPLICATION; CREATE ROLE |
Of course, you can also set a password. What is important here is that the user has the REPLICATION flag set. The basic idea is to avoid using the superuser to stream the transaction log from the primary to the replica.
The next thing we can do is to change pg_hba.conf, which controls who is allowed to connect to PostgreSQL from which IP.
host replication repuser 10.0.3.201/32 trust
We want to allow the repuser coming from 10.0.3.201 to log in and stream the transaction log from the primary. Keep in mind that 10.0.3.200 is the primary in our setup and 10.0.3.201 is the replica.
Finally, we can restart the primary because we have changed listen_addresses in postgresql.conf.
If you only changed pg_hba.conf a reload is enough:
|
1 2 3 |
[postgres@node1 ~]$ exit logout [root@node1 ~]# systemctl restart postgresql-13 |
Your system is now ready, and we can focus our attention on the replica.
The next step is to create the replica. There are various things we need to do to make this work. The first thing is to make sure that the replica is stopped and that the data directory is empty. Let’s first make sure the service is stopped:
|
1 |
[root@node2 ~]# systemctl stop postgresql-13 |
Then, we need to make sure the data directory is empty:
|
1 2 3 4 5 6 |
[root@node2 ~]# cd /var/lib/pgsql/13/data/ [root@node2 data]# ls PG_VERSION global pg_dynshmem pg_logical pg_replslot pg_stat pg_tblspc pg_xact postmaster.opts base log pg_hba.conf pg_multixact pg_serial pg_stat_tmp pg_twophase postgresql.auto.conf current_logfiles pg_commit_ts pg_ident.conf pg_notify pg_snapshots pg_subtrans pg_wal postgresql.conf [root@node2 data]# rm -rf * |
Note that this step is not necessary if you have skipped the initdb step during installation.
However, it is necessary if you want to turn an existing server into a replica.
|
1 2 3 4 5 |
[root@node2 data]# su postgres bash-4.4$ pwd /var/lib/pgsql/13/data bash-4.4$ pg_basebackup -h 10.0.3.200 -U repuser --checkpoint=fast -D /var/lib/pgsql/13/data/ -R --slot=some_name -C |
pg_basebackup will connect to the primary and simply copy all the data files over. The connection has to be made as repuser. To ensure that the copy process starts instantly, it makes sense to tell PostgreSQL to quickly checkpoint. The -D flag defines the destination directory where we want to store the data on the replica. The -R flag automatically configures our replica for replication.
No more configuration is needed on the secondary server. Finally, we created a replication slot. What is the purpose of a replication slot in PostgreSQL? Basically, the primary server is able to recycle the WAL - if it is not needed anymore on the primary. But what if the replica has not consumed it yet? In that case, the replica will fail unless there is a replication slot ensuring that the primary can only recycle the WAL if the replica has fully consumed it. We at CYBERTEC recommend to use replication slots in most common cases.
pg_basebackup has done:|
1 2 3 4 5 6 7 8 9 10 11 12 13 14 15 16 17 18 19 20 21 22 23 24 25 26 27 28 29 |
bash-4.4$ ls -l total 196 -rw-------. 1 postgres postgres 3 Feb 12 09:12 PG_VERSION -rw-------. 1 postgres postgres 224 Feb 12 09:12 backup_label -rw-------. 1 postgres postgres 135413 Feb 12 09:12 backup_manifest drwx------. 5 postgres postgres 41 Feb 12 09:12 base -rw-------. 1 postgres postgres 30 Feb 12 09:12 current_logfiles drwx------. 2 postgres postgres 4096 Feb 12 09:12 global drwx------. 2 postgres postgres 32 Feb 12 09:12 log drwx------. 2 postgres postgres 6 Feb 12 09:12 pg_commit_ts drwx------. 2 postgres postgres 6 Feb 12 09:12 pg_dynshmem -rw-------. 1 postgres postgres 4598 Feb 12 09:12 pg_hba.conf -rw-------. 1 postgres postgres 1636 Feb 12 09:12 pg_ident.conf drwx------. 4 postgres postgres 68 Feb 12 09:12 pg_logical drwx------. 4 postgres postgres 36 Feb 12 09:12 pg_multixact drwx------. 2 postgres postgres 6 Feb 12 09:12 pg_notify drwx------. 2 postgres postgres 6 Feb 12 09:12 pg_replslot drwx------. 2 postgres postgres 6 Feb 12 09:12 pg_serial drwx------. 2 postgres postgres 6 Feb 12 09:12 pg_snapshots drwx------. 2 postgres postgres 6 Feb 12 09:12 pg_stat drwx------. 2 postgres postgres 6 Feb 12 09:12 pg_stat_tmp drwx------. 2 postgres postgres 6 Feb 12 09:12 pg_subtrans drwx------. 2 postgres postgres 6 Feb 12 09:12 pg_tblspc drwx------. 2 postgres postgres 6 Feb 12 09:12 pg_twophase drwx------. 3 postgres postgres 60 Feb 12 09:12 pg_wal drwx------. 2 postgres postgres 18 Feb 12 09:12 pg_xact -rw-------. 1 postgres postgres 335 Feb 12 09:12 postgresql.auto.conf -rw-------. 1 postgres postgres 28014 Feb 12 09:12 postgresql.conf -rw-------. 1 postgres postgres 0 Feb 12 09:12 standby.signal |
pg_basebackup has copied everything over. However, there is more. The standby.signal file has been created which tells the replica that it is indeed a replica.
Finally, the tooling has adjusted the postgresql.auto.conf file, which contains all the configuration needed to make the replica connect to its replica on the primary server (node1):
|
1 2 3 4 5 6 7 |
bash-4.4$ cat postgresql.auto.conf # Do not edit this file manually! # It will be overwritten by the ALTER SYSTEM command. primary_conninfo = 'user=repuser passfile=''/var/lib/pgsql/.pgpass'' channel_binding=prefer host=10.0.3.200 port=5432 sslmode=prefer sslcompression=0 ssl_min_protocol_version=TLSv1.2 gssencmode=prefer krbsrvname=postgres target_session_attrs=any' primary_slot_name = 'some_name' |
Voilà, we are done and we can proceed to start the replica.
We are ready to start the replica using systemctl:
|
1 2 3 4 5 6 7 8 9 10 11 12 |
bash-4.4$ exit exit [root@node2 data]# systemctl start postgresql-13 [root@node2 data]# ps axf | grep post 36394 pts/1 S+ 0:00 _ grep --color=auto post 36384 ? Ss 0:00 /usr/pgsql-13/bin/postmaster -D /var/lib/pgsql/13/data/ 36386 ? Ss 0:00 _ postgres: logger 36387 ? Ss 0:00 _ postgres: startup recovering 000000010000000000000007 36388 ? Ss 0:00 _ postgres: checkpointer 36389 ? Ss 0:00 _ postgres: background writer 36390 ? Ss 0:00 _ postgres: stats collector 36391 ? Ss 0:00 _ postgres: walreceiver streaming 0/7000148 |
It’s a good idea to check that the processes are indeed running. It’s especially important to check for the existence of the walreceiver process. walreceiver is in charge of fetching the WAL from the primary. In case it is not there, your setup has failed.
Also make sure that the service is enabled.
Once the setup has been completed, it makes sense to take a look at monitoring. In general, it makes sense to use a tool such as pgwatch2 to professionally monitor your database.
|
1 2 3 4 5 6 7 8 9 10 11 12 13 14 15 16 17 18 19 20 21 22 23 24 25 26 27 28 29 |
[root@node1 ~]# su - postgres [postgres@node1 ~]$ psql postgres psql (13.2) Type 'help' for help. postgres=# x Expanded display is on. postgres=# SELECT * FROM pg_stat_replication ; -[ RECORD 1 ]----+------------------------------ pid | 6102 usesysid | 16385 usename | repuser application_name | walreceiver client_addr | 10.0.3.201 client_hostname | client_port | 34002 backend_start | 2021-02-12 09:27:59.53724-05 backend_xmin | state | streaming sent_lsn | 0/7000148 write_lsn | 0/7000148 flush_lsn | 0/7000148 replay_lsn | 0/7000148 write_lag | flush_lag | replay_lag | sync_priority | 0 sync_state | async reply_time | 2021-02-12 09:29:49.783076-05 |
The existence of a row in pg_stat_replication tells us that WAL is flowing from the primary to a secondary.
|
1 2 3 4 5 6 7 8 9 10 11 12 13 14 15 16 17 18 19 20 21 22 23 24 25 26 27 28 29 30 31 32 33 34 35 36 |
[root@node2 data]# su - postgres [postgres@node2 ~]$ psql postgres psql (13.2) Type 'help' for help. postgres=# x Expanded display is on. postgres=# SELECT * FROM pg_stat_wal_receiver; -[ RECORD 1 ]---------+-------------------------------------------- pid | 36391 status | streaming receive_start_lsn | 0/7000000 receive_start_tli | 1 written_lsn | 0/7000148 flushed_lsn | 0/7000148 received_tli | 1 last_msg_send_time | 2021-02-12 09:29:59.683418-05 last_msg_receipt_time | 2021-02-12 09:29:59.674194-05 latest_end_lsn | 0/7000148 latest_end_time | 2021-02-12 09:27:59.556631-05 slot_name | some_name sender_host | 10.0.3.200 sender_port | 5432 conninfo | user=repuser passfile=/var/lib/pgsql/.pgpass channel_binding=prefer dbname=replication host=10.0.3.200 port=5432 fallback_application_name=walreceiver sslmode=prefer sslcompression=0 ssl_min_protocol_version=TLSv1.2 gssencmode=prefer krbsrvname=postgres target_session_attrs=any |
A row in pg_stat_wal_receiver ensures that the WAL receiver does indeed exist, and that data is flowing.
That’s it! I hope you have enjoyed this tutorial. For more information on choosing between synchronous and asynchronous replication, take a look at this page.
Thanx a lot, it really works